Why use Fusion 360?
We started our first CADD lesson on week 3, and started by learning the user interface on Fusion 360 like the Toolbar, Viewcube, Navigation bar, and we slowly progressed from there.
This is by Kevin Kennedy’s video tutorial on the drawing of a Lego brick. I have learned to use the rectangualr pattern tool to make our lives easier, and also the fillet tool, which helps smoothen the circular edges of the lego brick.
This object is made up of 20 cubes (20mm) glued together and then shelled to a thickness of 4mm
.jpeg)
Choose desire mug, take a photo of it and download and put into Illustrator.
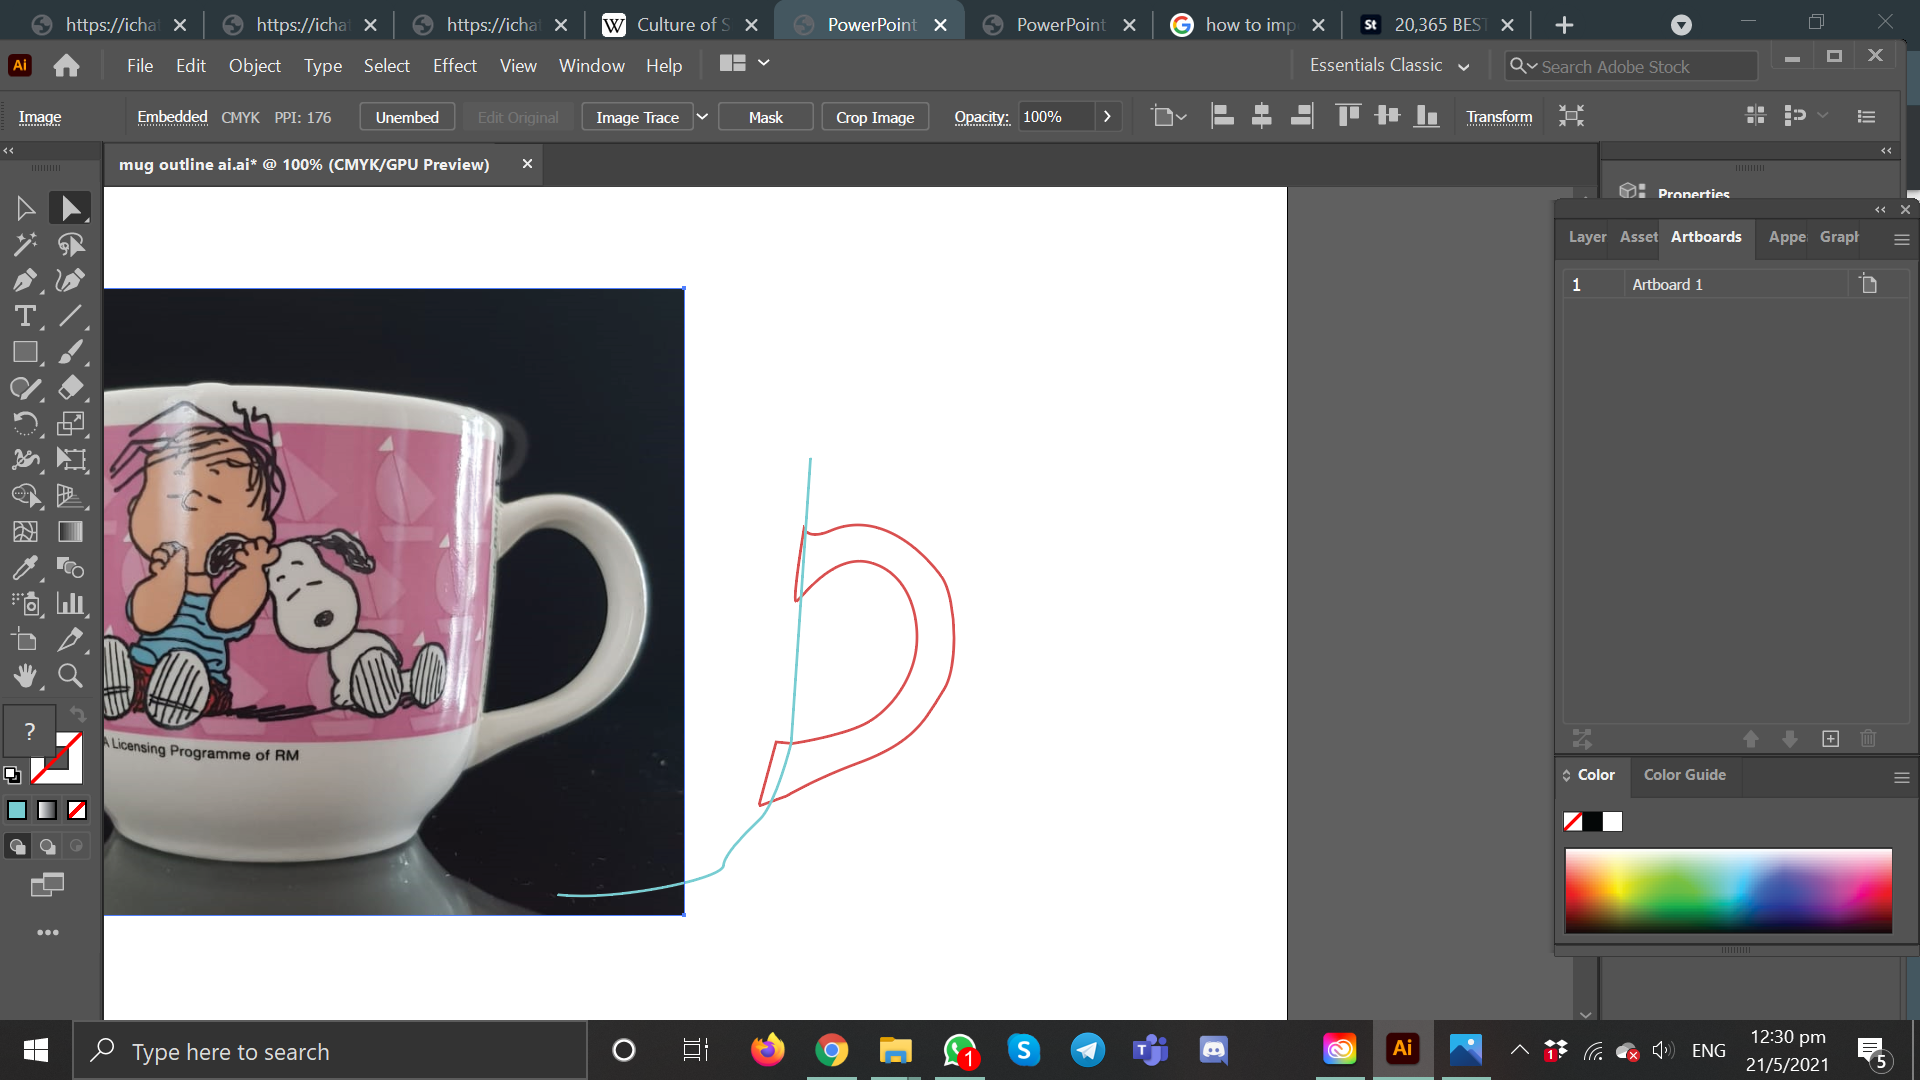
Use the photo as underlay and use pen tool to trace over. Trace half the mug as we need to use the revolve tool later, and trace the handle fully to extrude out.
.png)
Select the lines traced and file>export>export as> export to .svg then fo to fusion, insert> insert svg> insert from my computer, and find for the file, insert on the front plane
.png)
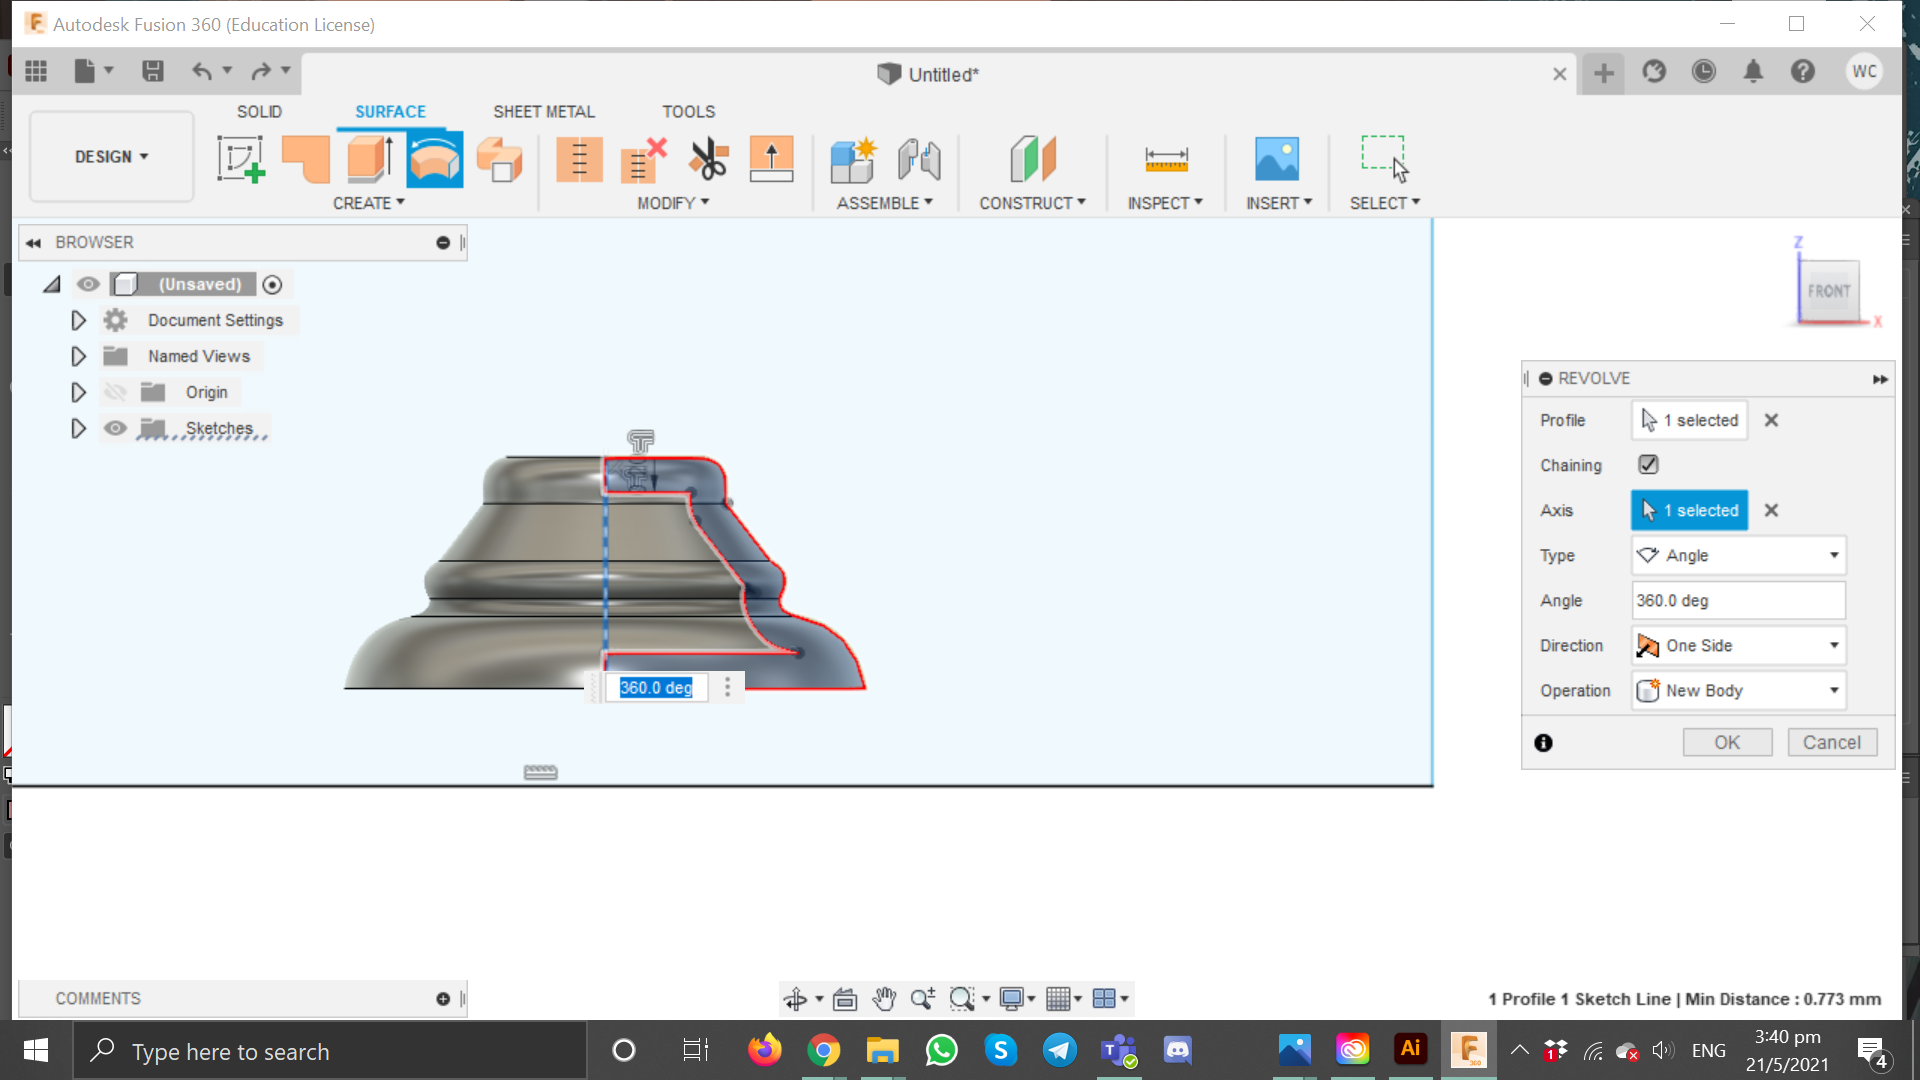
Offset a thickness of the mug and make sure to close the shape! Then go to surface>create>revolve, select the cup sketch as the profile and revolve around the z-axis, angle - 360
.png)
'F' key shortcut for Fillet
Click on the outer most rim of cup and I fillet about 0.5mm
.png)
Create> sketch and insert another .svg of the handle on the front plane
.png)
'E' key shortcut for Extrude
Select the handle sketch as profile and extrude symmetrically
.png)
'F'
Select the outer most curvature of handle and do a fillet. Fillet the inner rim of the mug too. Done!
This is following Kevin Kennedy’s video tutorial on the modelling of a hex nut.
Design a Knight chess piece:
Download and put into Illustrator, trace, and export to a .svg
Offset dist about 2mm. Make sure to close of the shape also.
Can create a midline (to revolve around), select the base sketch as the profile and revolve around the z-axis, angle - 360
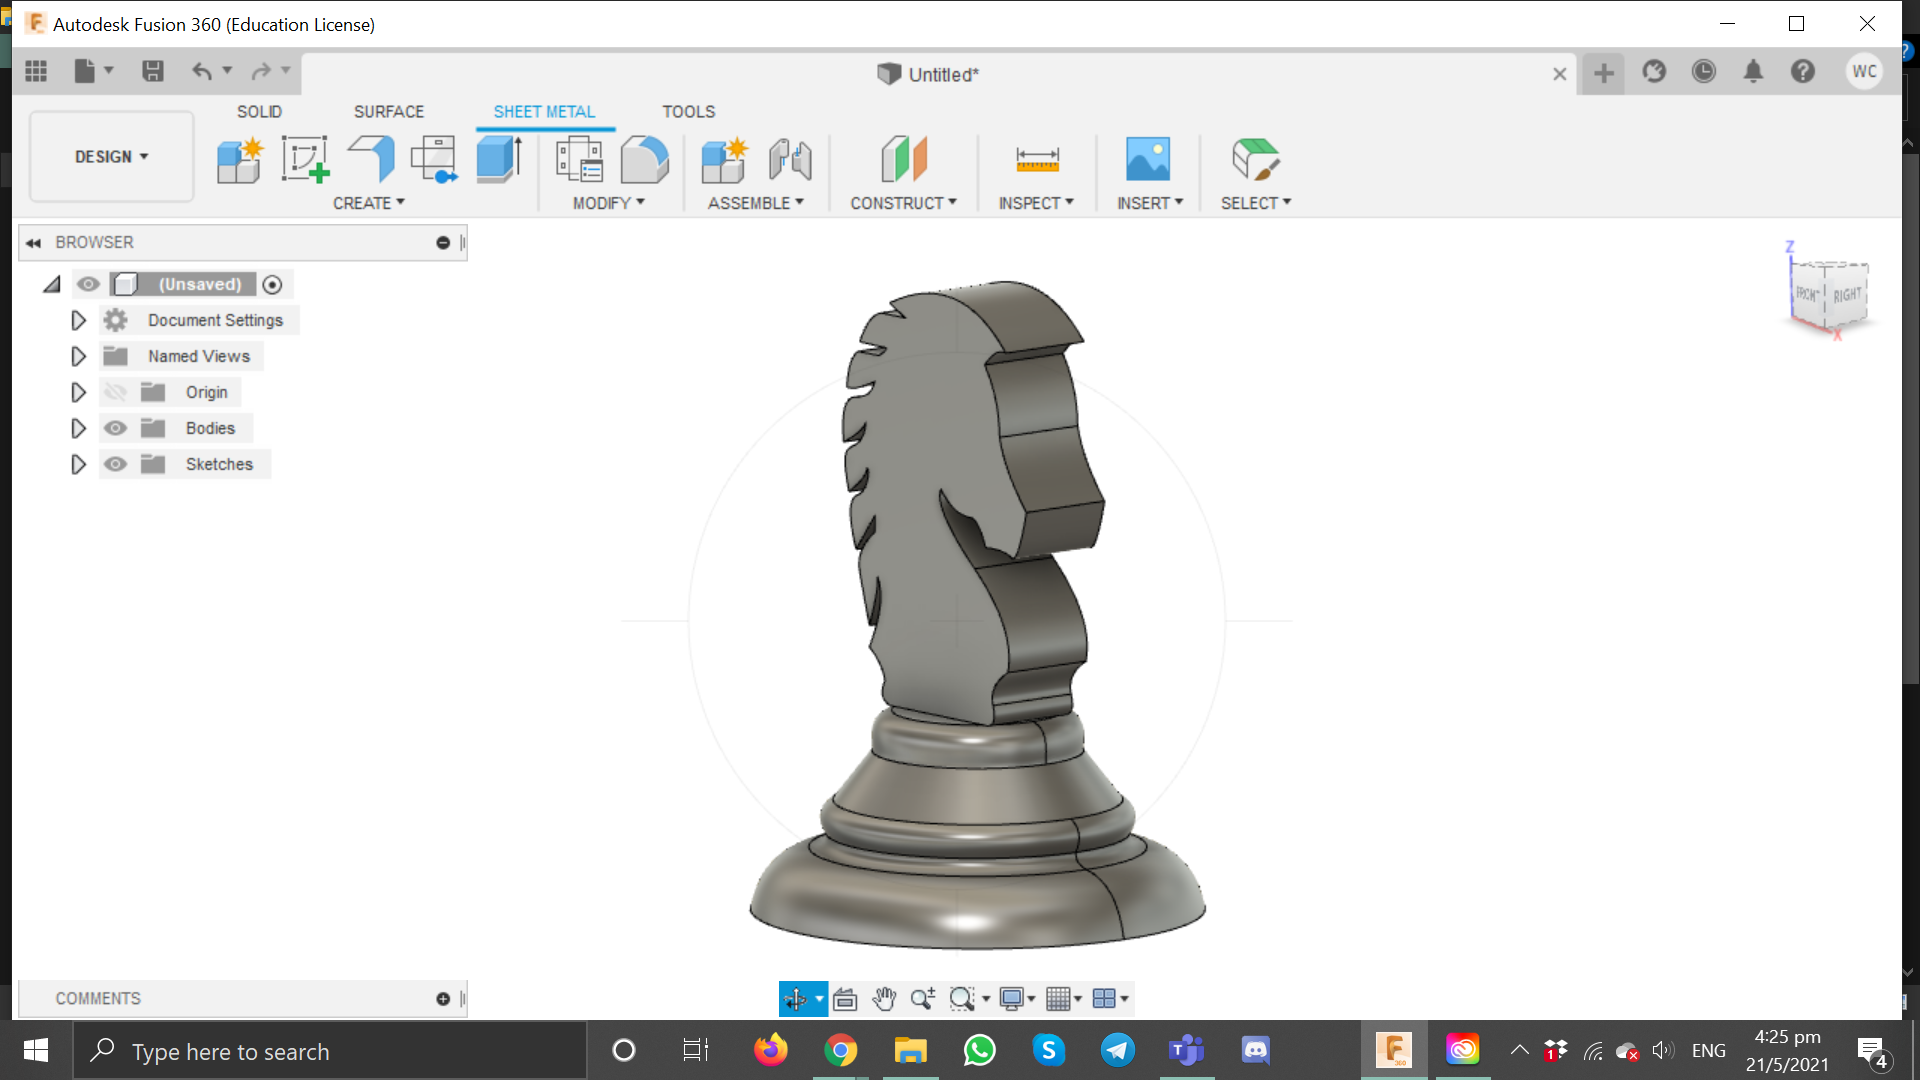
Create sketch on the front plane, insert the .svg file of the knight's head, extrude symmetrically ~4mm
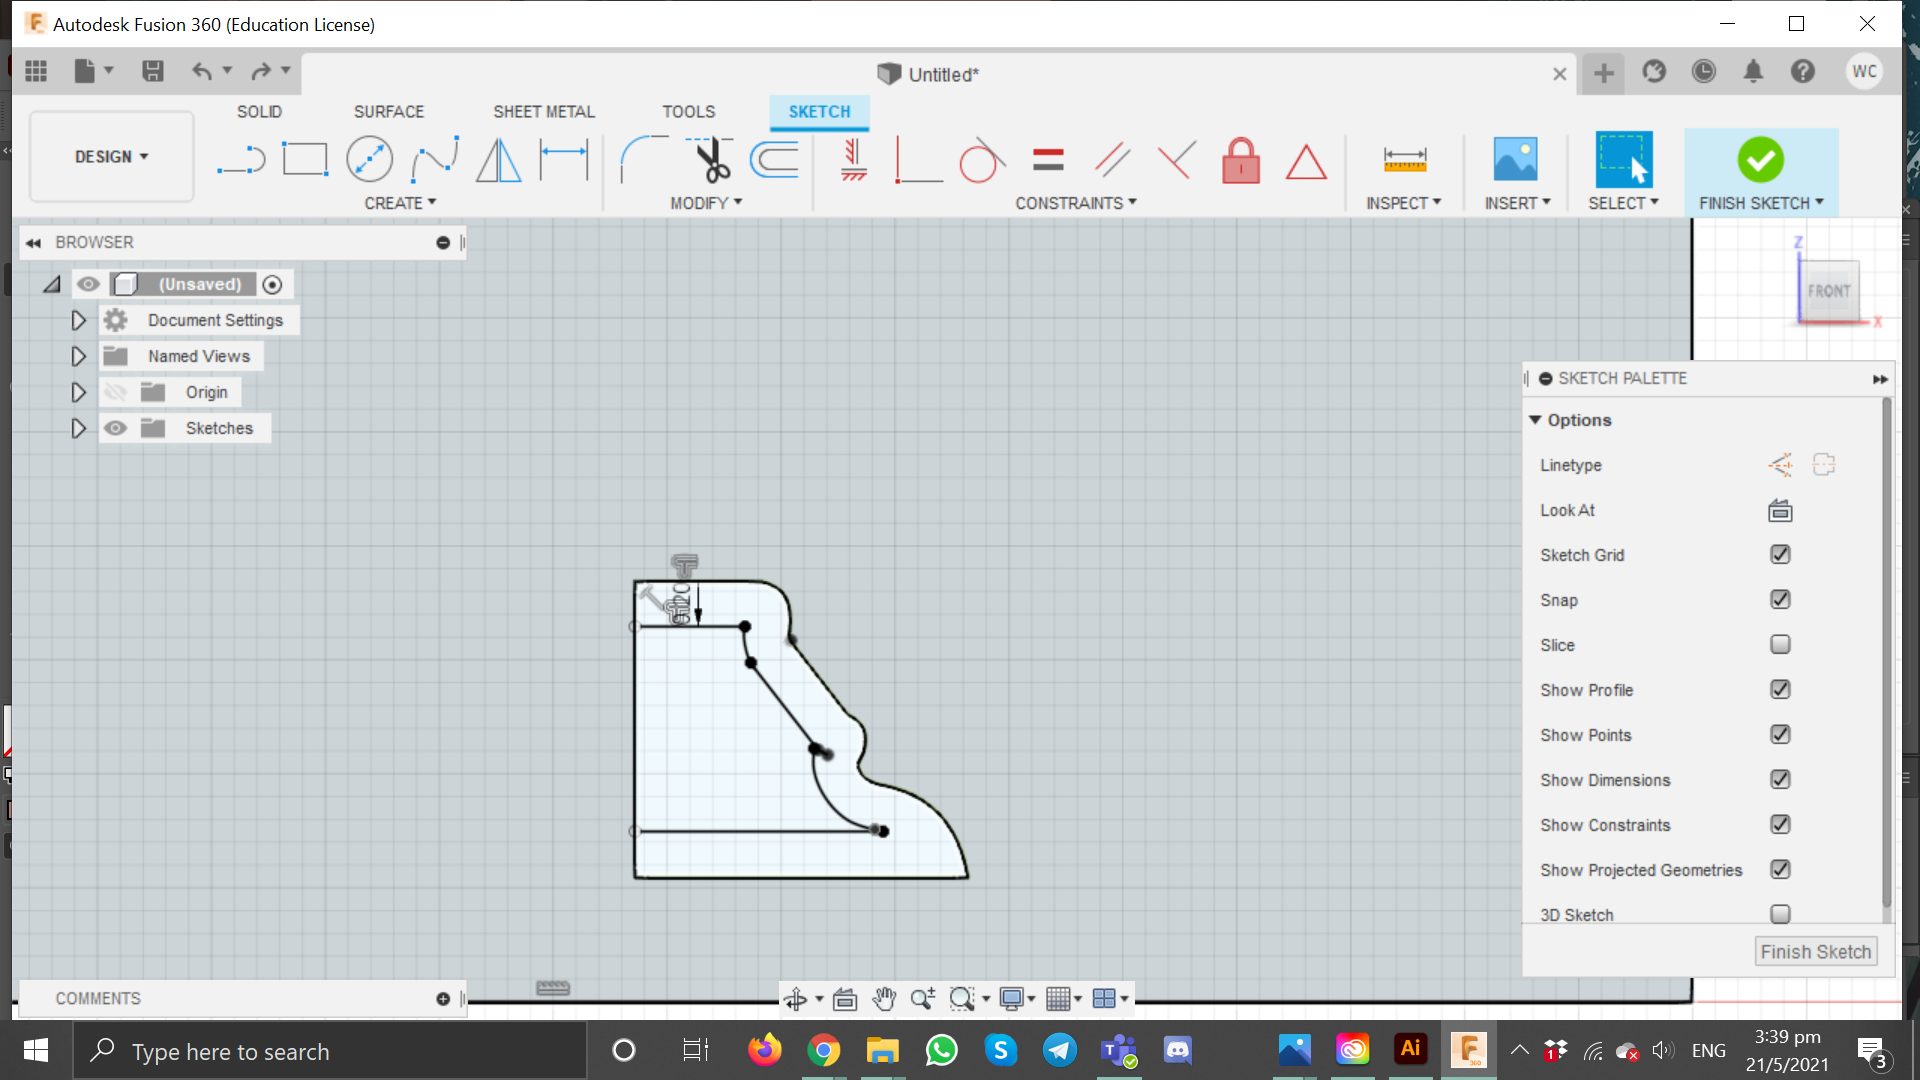
We are to create a closed box with a movable lid, specifications are as follows:
After we are done setting the dimentions and have decided the tabs and movable lid, we export it to a .dxf file and prepare to laser cut. More info on how I complete this parametric box can be found from my Home page> Laser cutting, or you can click here.